
When a hospital replaces its cath lab, choosing a familiar imaging system is only part of planning the temporary room. The team also needs a workable arrangement for anesthesia equipment, mobile carts, supplies and the people using them. A useful early question is: how would our actual setup work in this trailer?
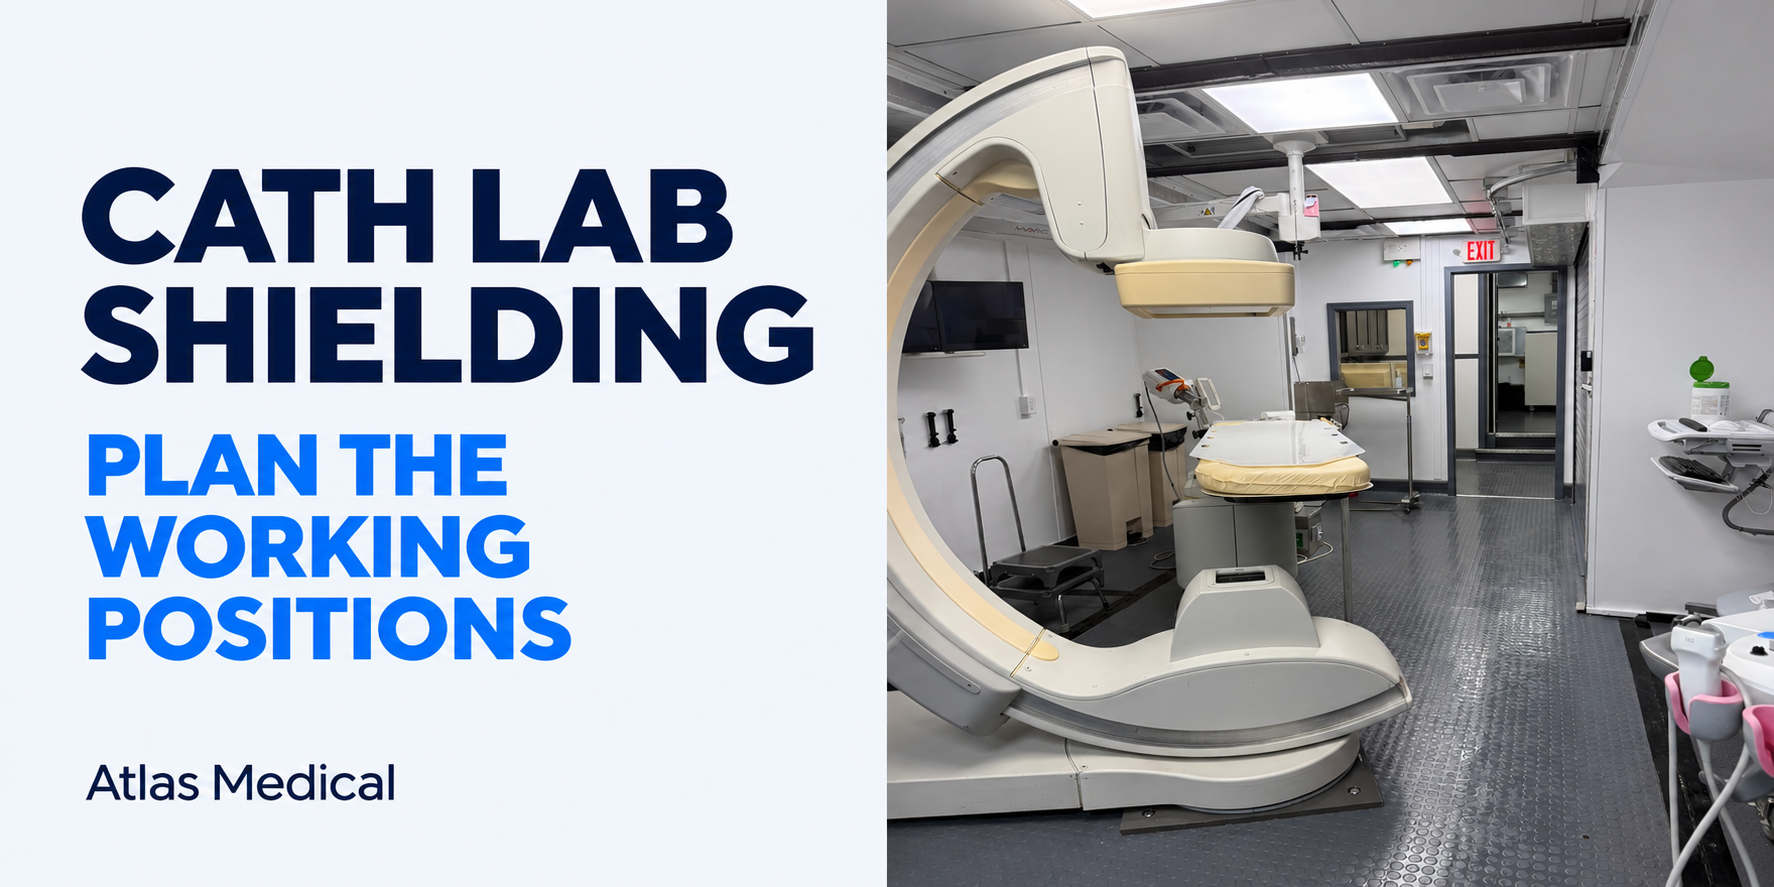
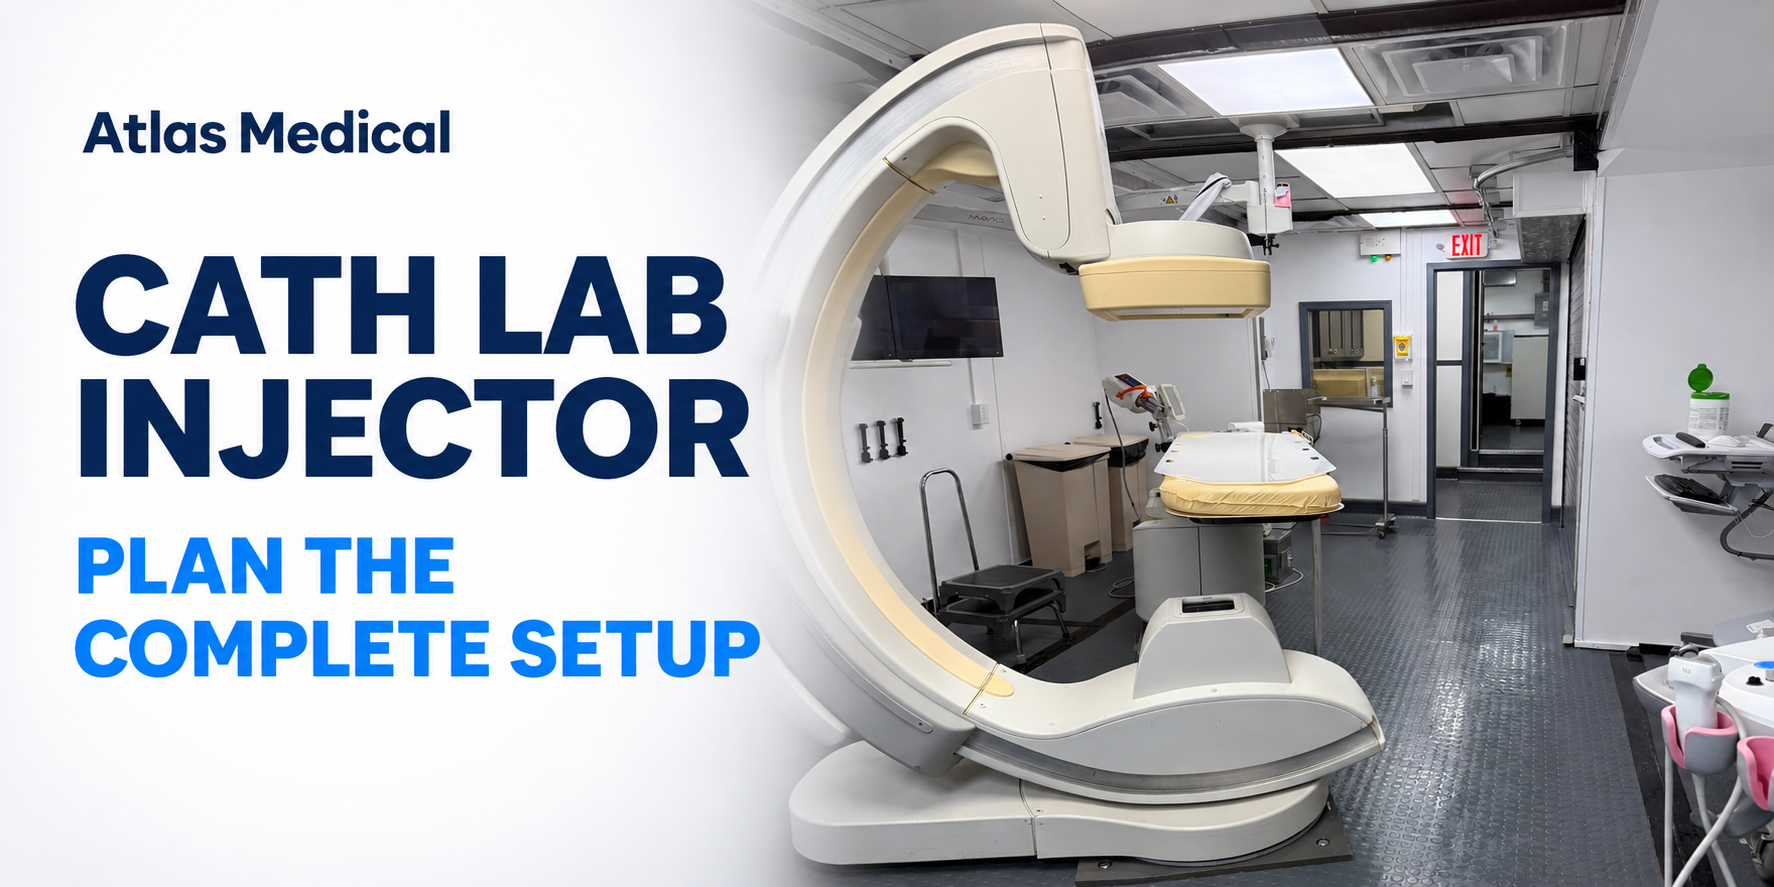
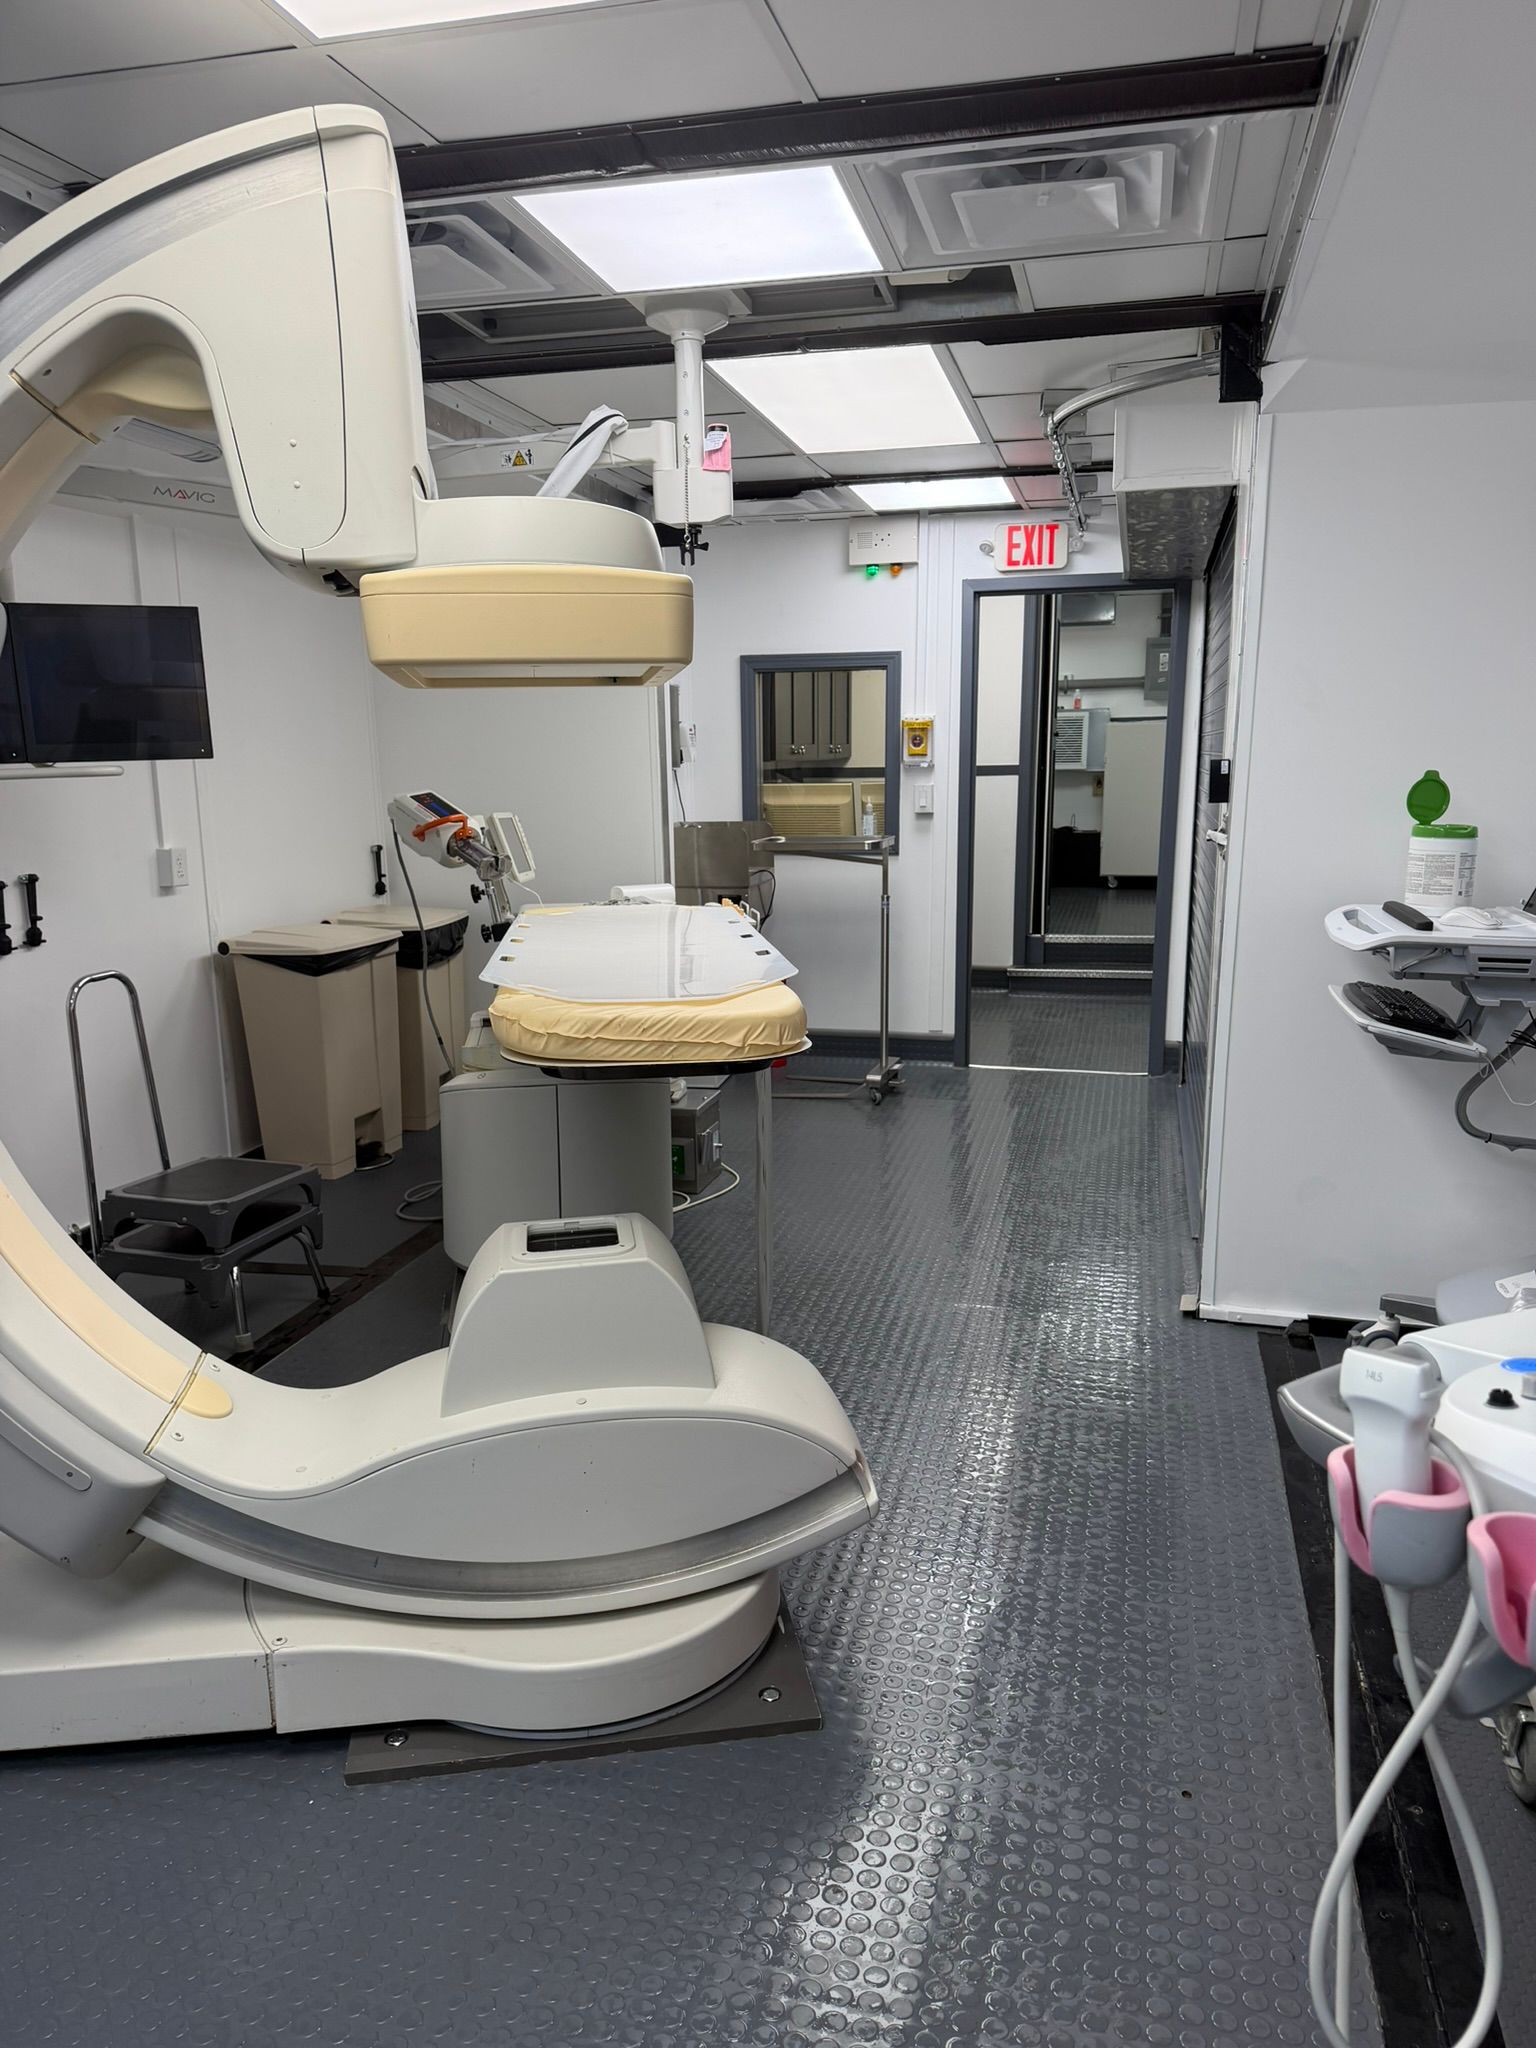
The accompanying photograph shows an Atlas Philips Allura FD20 cath lab trailer. It provides a concrete starting point for that conversation: a procedure table, imaging equipment, work surfaces and the route toward the adjoining area are visible. The photograph represents one room at one moment. The assigned trailer’s current drawings and the hospital’s proposed equipment arrangement should guide the project review.
Start with the equipment that will actually move
Bring a list of the hospital equipment expected to accompany the temporary service. Include the anesthesia workstation and associated equipment, mobile supply carts, monitors and other items the hospital team identifies for its planned work. Separate equipment supplied with the trailer from equipment the hospital will bring; otherwise two teams may plan around different assumptions.
For each item, use its actual dimensions and manufacturer information. A footprint alone does not describe everything needed to use it: opening a drawer, moving a cart, reaching a connection or servicing equipment may require additional room. Ask the responsible hospital and equipment teams to review those needs on the proposed layout. Do not estimate clearances from a wide-angle photograph.
This turns a broad question about whether a cath lab trailer has enough space into a discussion about a specific arrangement. The same imaging model does not establish the same accessories, room dimensions or installed options across different units.
Review the room as a working space
Start the walkthrough at the proposed patient entry and follow the route into the procedure room. Then discuss where each team member and mobile item would be positioned for the intended workflow. Include the transition between the procedure and control areas and access to work surfaces and storage.
Use the photograph to locate visible features, then move to a current drawing for measurements. Ask the hospital team which positions need to remain fixed and which items move during the workday. An arrangement that looks open with carts parked along a wall may look different when drawers are open and staff are in position.
Where feasible, review the proposed setup with the actual equipment before finalizing it. The purpose is to identify questions that a photograph cannot resolve—not to treat a visual walkthrough as clinical acceptance or permission to begin service. Facilities, clinical leadership and the relevant equipment and safety specialists retain their project-specific responsibilities.
Bring anesthesia into the layout conversation early
Anesthesia equipment should be part of the initial room discussion. Invite the hospital’s anesthesia team to identify what it needs to bring, the proposed position of each item and the supporting connections that must be confirmed. Their review can expose space and access questions that would be missed by looking only at the imaging system.
Keep physical fit and utility compatibility as separate checks. An apparent location for a workstation does not confirm the required gas, suction, scavenging, power or other connection arrangements. Those details require the actual unit documents, equipment requirements and review by the responsible hospital teams. No universal connection specification or operating clearance should be inferred from the image.
Plan supplies and replenishment together
Storage decisions affect the amount of usable working space. Discuss which supplies must stay in the room, what quantities are appropriate and where additional stock can be kept under the hospital’s procedures. Standardizing the supply assortment where the clinical team considers it appropriate may reduce the need for extra cabinets and carts.
For example, a team may initially propose moving several cabinets from the permanent department. Before placing them on the temporary layout, review what each contains and how frequently it is accessed. The team can then decide what belongs at the point of use, what needs a different storage location and how replenishment will occur. This is a planning discussion, not a recommendation to remove required supplies or change clinical practice.
An agreed replenishment process is as important as the initial storage layout. Identify who restocks the room and how changes in the planned workload will be communicated, using the hospital’s established procedures.
Finish with a shared understanding of the proposed setup
At the end of the walkthrough, have the participants describe the arrangement they believe is proposed and the questions that remain unresolved. AHRQ’s TeamSTEPPS resources include briefs and check-backs as tools for building shared understanding. They are useful communication references; they do not certify a room design or replace technical review.
A useful next step is a marked layout tied to the correct trailer and revision, the hospital equipment list and a short set of decisions still needed. Keep a proposed position visibly distinct from one the responsible team has accepted. If the equipment list changes, revisit the arrangement before assuming the original review still applies.
For a cath lab renovation or system replacement, start with the room your team will actually use. Contact Atlas Medical to begin a discussion about the proposed trailer, the equipment your hospital plans to bring and the information needed for a layout review.